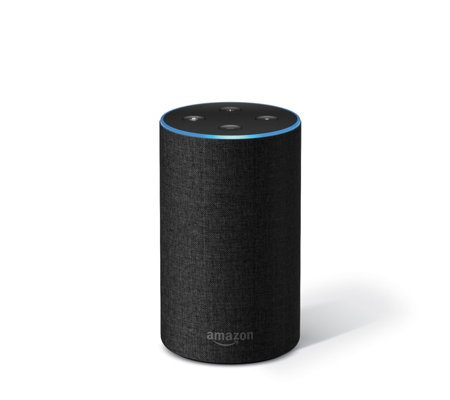
Amazon Echo is undoubtedly one of the most popular presents in the market. Setting up of the Amazon Echo can be a little difficult. We will guide you step by step on how to set up your Amazon Echo.
Step 1: Powering up
The first step is to connect your Amazon Echo’s power supply as it cannot run on batteries. You need an Android or iOS device for completing the software setup.
Step 2: Installing Amazon Alexa app
Download the ‘Amazon Alexa’ app on your phone from Google play store or Apple app store or Amazon app store if you have an Amazon Fire device. The app works as a bridge for all the technical controls.
Step 3: Plug the Echo
After the app has been installed, it’s time to setup the Amazon Echo speaker itself. Plug the Echo’s power adapter to the power jack on the speaker. Now, take the other end of the power adaptor and plug it into the wall. Your Amazon Echo is now powered up.
Step 4: Device Initialization
After the Amazon Echo is plugged, the initialization process takes a few seconds. The light will turn blue and switch to orange when the device is ready for setup.
Step 5: Open the app
Open the Alexa app on your phone that you have downloaded. In the app, go to settings menu and select ‘Setup a new device’ to establish a Wi-Fi connection.
Step 6: Selecting the device
Now, select the Echo device you want to setup. On the next page, select your preferred language.
Step 7: Connecting to Wi-Fi
Select ‘Connect to Wi-Fi’ from the next page. In the settings app, choose Wi-Fi settings. Select Amazon Echo as your access point. Once connected tap ‘Continue’.
Next step is to connect to your home’s Wi-Fi. Enter the Wi-Fi password and connect to the network. Your device will be taken back to the settings menu and will be listed as ‘Online’.
Now sit back and enjoy your Amazon Echo.


